SimFly Client V0.0.12 — Installation Guide (macOS)
Heads-up: This client is beta software. Expect bugs and missing features, and please share your feedback so we can improve it.
Current Limitations
- Sky Sentinel (in-sim messaging) is disabled.
- The app is unsigned, so macOS will ask for manual approval.
- Works only with X-Plane (tested on v12 – let us know your version).
How to proceed to set it up:
A) Download the beta client from https://simfly.io/c/SimFlyConnector-v0.0.12.zip
NOTE: ![]() Instructions below refer to version 4, but are identical, just now the last version is v0.0.12!
Instructions below refer to version 4, but are identical, just now the last version is v0.0.12!
B) Save the zip file in a folder or in your desktop, and double click on it to open it
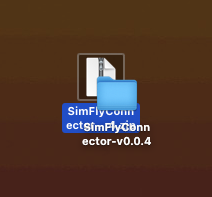
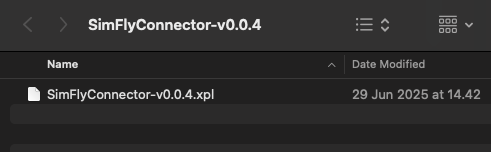
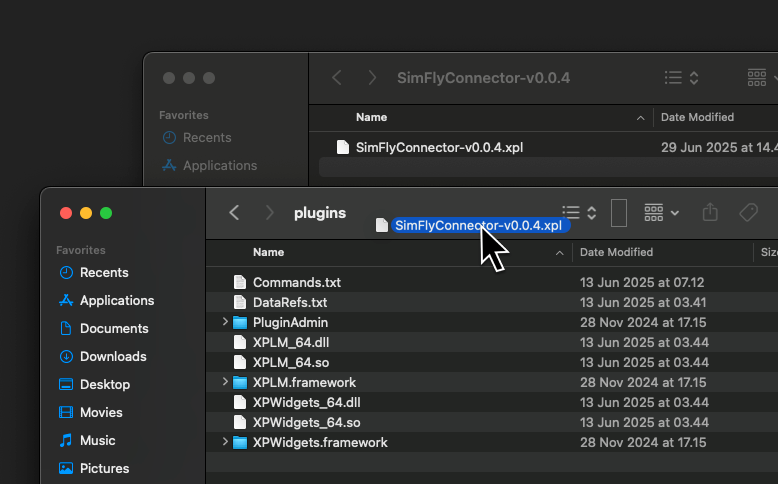
C) Open the folder, there is one file:
SimFlyConnector-v0.0.4.xpl
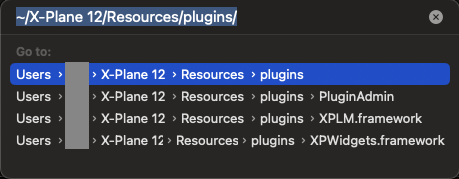
D) press on Shift-Command-G and enter this string (without quotes): “~/X-Plane 12/Resources/plugins/” (Adjust the path if you use a different X-Plane version or plugin folder.)
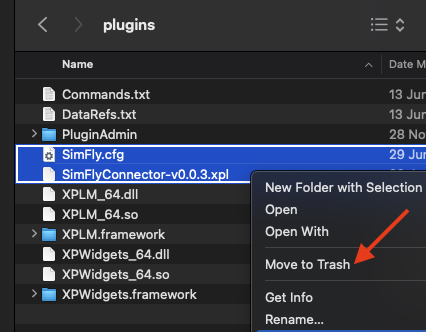
E) If you have previously installed a macOS client, delete these two files:
SimFly.cfgSimFlyConnector-v0.0.3.xpl<= or v0.0.2 or 0.0.1
F) If you did point D with the other folder open, it may have taken over that folder, in this case just reopen the folder with the plugin file. Copy the file from the plugin folder into the XPlane plugin folder:
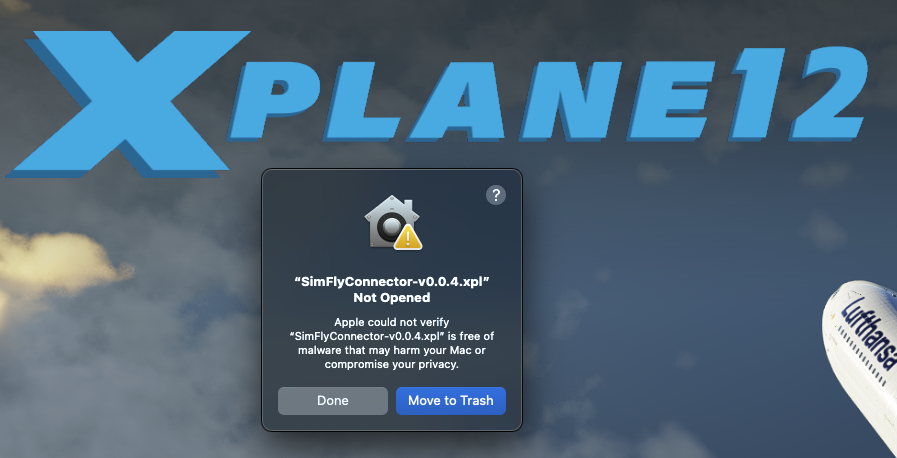
G) Start XPlane (don’t get excited, we are not there yet). XPlane will throw an error. Click on “Done”. It may ask this twice, click one more time on “Done again”.
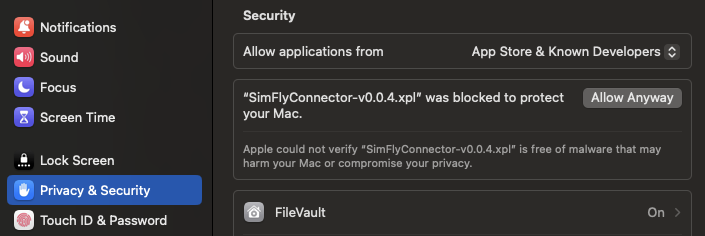
H) Let XPlane finish startup, and then quit XPlane. Open System Settings, scroll down to “Privacy & Security”, and there you will find a notice that the operating system stopped a file from being loaded, click on “Allow Anyway”
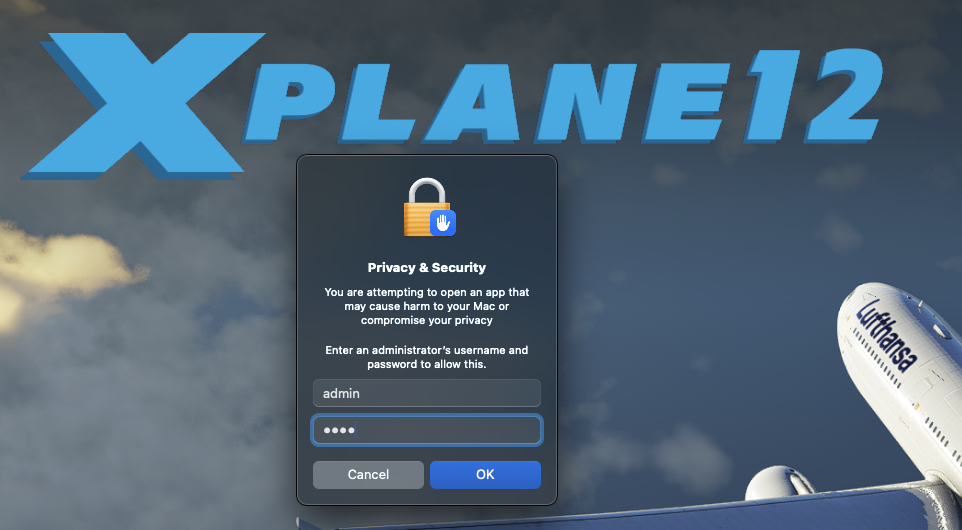
I) Close your system preference app and start XPlane again. The message that appear should be different, click on “Open Anyway”

J) It will ask for the administrator credentials (if you are not logged in as admin, or if your settings require it), enter them and this is all you need to do ![]()
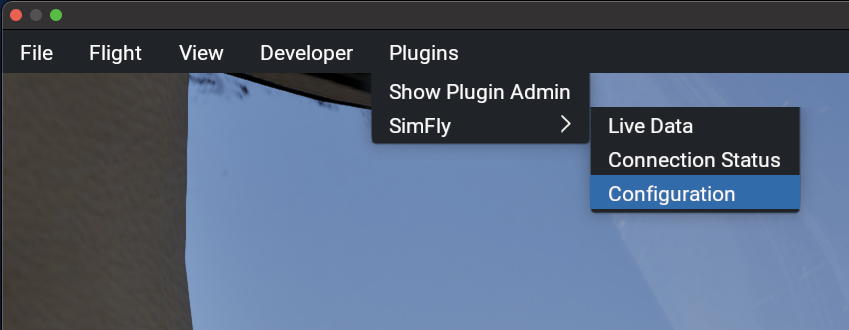
K) Start a new flight. It may take a little bit longer the first time after the plugin is installed. Be patient, and once you are in your airplane open the plugin menu > SimFly > Configuration:
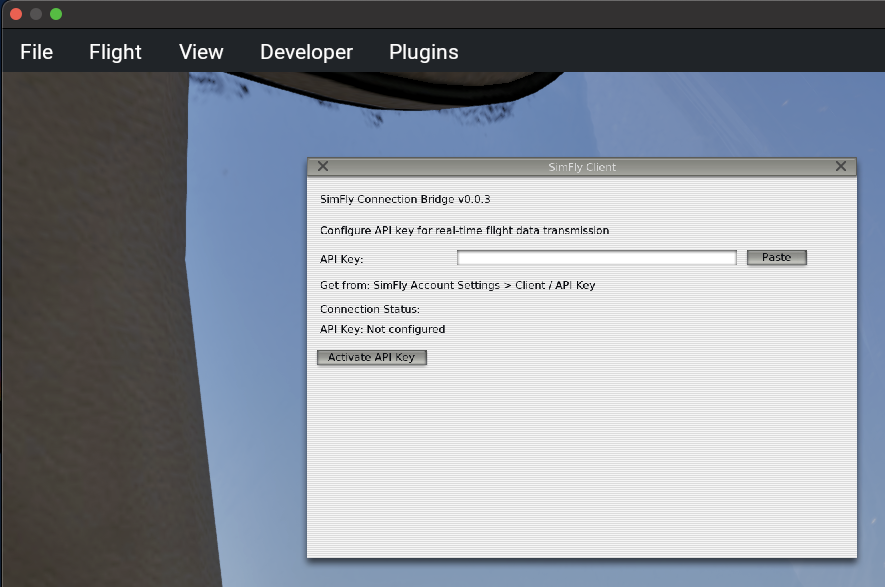
L) This opens a space where you can paste your App Key
M) Login to https://simfly.io (if you are reading this, 90% chance you are already logged in)
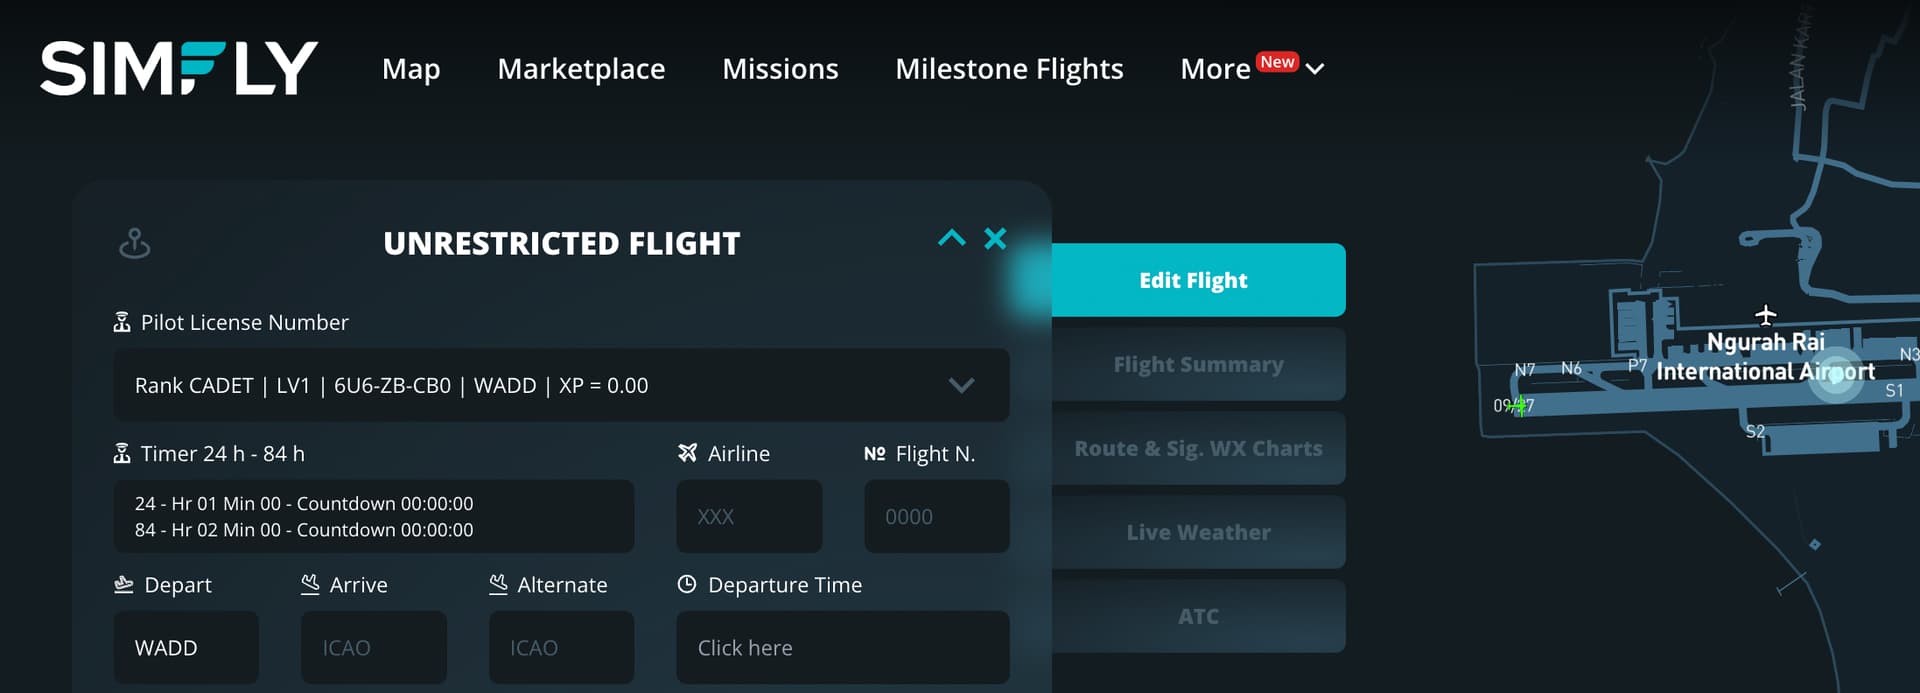
N) Click the gear icon on the top right of the page

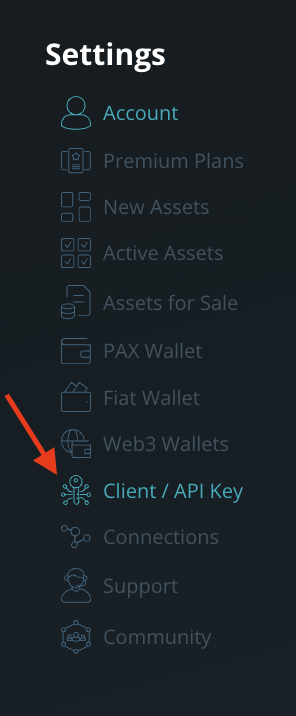
O) Click on “Client / API Key” on the menu
P) Scroll to the bottom of the page and click on “Generate API Key”.
NOTE: If you have already a key that has been used you must create a new one!

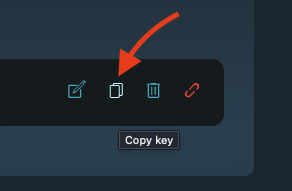
Q) As the key has been generated, go to the right and copy it using the small copy button
R) Go back to XPlane and click on the “Paste” button on the SimFly Plugin Config UI
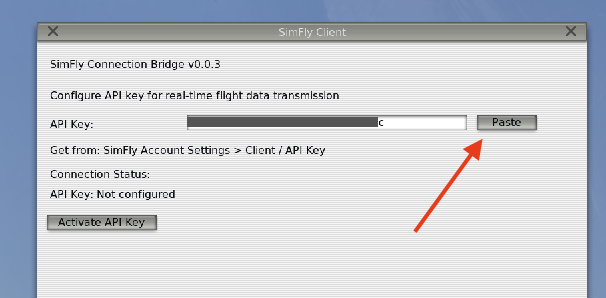
S) Click on the “Activate API Key” button and your key is activated.
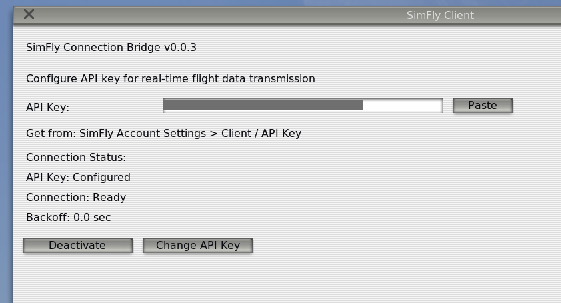
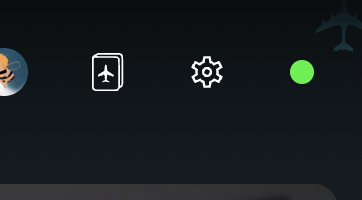
T) In SimFly you will notice that the top right connection indicator is green. This means the client is connected and the sim is running
U) Now you are ready to fly! If you don’t have a license you can fly on the test pilot mission, if you want also earn a lot of PAX and don’t have an airplane and a license, you can get yourself a junior pilot license and do the rental mission, if you want full in and don’t have a license, tell me your username and I give you a beta tester discount coupon for a full license!
Enjoy SimFly, report any issue you have.